In a large bowl, combine the first six ingredients. Add beef; mix lightly but thoroughly.
Shape into 1-1/2-in. meatballs (about 36). In a large skillet, brown meatballs in batches. Using a slotted spoon, remove to paper towels to drain, reserving drippings in pan.
For gravy,
stir flour into drippings; cook and stir until light brown (do not burn). Gradually whisk in milk until smooth. Stir in the consomme, Worcestershire sauce, pepper and salt. Bring to a boil; cook and stir for 2 minutes or until thickened.
Return meatballs to pan. Cook, uncovered, 15-20 minutes longer or until meatballs are cooked through, stirring occasionally.
Meanwhile, cook noodles according to package directions. Drain; toss with butter. Serve with meatball mixture; sprinkle with parsley. Yield: 6 servings.
Share this:


Follow us
![]()
![]()
![]()
![]()
![]()
soak the chana/chickpeas overnight or for 8-9 hours.
pressure cook the chanas, water and salt till they have completely cooked.
drain the chanas and keep the stock aside.
in a frying pan, add all the whole spices mentioned under “roasting the masala” list, except coconut
roast till the spices start emanating their aroma.
then add the freshly grated coconut.
roast till the coconut gets browned.
keep on stirring so that the coconut does not get burned.
once this mixture has cooled, grind in a chutney grinder with 1 cup water.
grind to a smooth paste.
heat oil in a pot or kadai.
first splutter the mustard.
add the bayleaf
then add onions and fry till they are softened and become translucent.
add curry leaves, asafoetida and ginger-garlic paste.
stir and fry till the raw aroma of ginger-garlic disappears.
add chopped tomatoes.
saute for 2-3 minutes, stirring in between.
add the ground masala paste and stir.
add the drained chanas and slit green chili.
stir and saute for 1-2 minutes.
now add the stock or water.
give a boil and then simmer for 5-6 minutes or more till the gravy thickens a bit.
mash a few chanas with the sides of the spoon.
this will help in thickening the gravy.
check the seasoning and add more salt as per your taste.
garnish chana masala with coriander leaves.
serve chana masala hot with pooris, chapatis, bread or steamed rice accompanied with lemon & onion slices.Share this:

Sweet potatoes are packed with beta-carotene, cinnamon is rich in antioxidants, walnuts are high in heart-healthy omega-3 fats, and parsley is a very good source of vitamin K, which plays a key role in clotting blood.
Tip: Whole wheat couscous has more fibre than regular; raisins are high in sugar, so don’t toss in extra.
Wine pairing: Riesling, an off-dry white, pairs well with sweet potato.
Toast walnuts in a large, non-stick pot (without oil) over medium heat, 5 minutes (toasting intensifies their flavour). Transfer to a small bowl. Heat oil in same pot over medium-high heat.
Add onion and cinnamon stick pieces. Stir for 2 minutes, then add sweet potatoes. Pour in broth and bring to a boil. Cover, reduce heat and simmer until sweet potatoes are almost tender, 8 to 10 minutes.
Return to boil, add beans and cook until tender-crisp, 5 minutes. Stir in couscous and raisins, cover, remove from heat and let stand 5 minutes. Fluff with a fork, empty into a serving bowl, and sprinkle with walnuts, parsley and feta.
Share this:
Boiling the noodles
Heat 2 quarts of water to a boil in a large pot over high heat. Add the noodles a small bundle at a time, stirring gently to separate. When the water returns to a full boil, add 1 cup of cold water. Repeat this twice. When the water returns to a full boil, check the noodles if they are done. You want to cook them until they are firm-tender. Do not overcook them.Drain the noodles in a collander and rinse well under cold running water until the noodles are cool.
Preparing the Dipping Sauce
Dashi stock can either be purchased pre-made, it can be made from scratch, or it can be made by mixing and diluting instant dashi granules. I chose to buy insant dashi granules at a local Japanese market. Any brand you find will come with directions on the back for how to make the stock. The dashi I found thankfully came with instructions in both Japanese and English. I used the proportions of 1 tsp of dashi granules for 6 cups of water. I would say this was on the weaker side, which was what I was in the mood for – mild dipping sauce so I could really appreciate the taste and consistency of the buckwheat noodles.After making your dashi stock, bring the dashi stock, soy sauce, mirin and sugar to a boil in a saucepan over medium-high heat. Stir gently to dissolve the sugar. Once completely dissolved, allow the sauce to cool completely. You may refrigerate if you desire a cold dipping sauce (on a particularly hot day).
Arranging the Meal
This meal’s garnishes are almost as important as the noodles themselves. Using kitchen sheers, cut the sheet of nori crosswise into quarters. Then cut those quarters crosswise into 1/8-inch wide strips.Next, very finely chop the green onions on the bias.
Mix wasabi to desired consistency, cover and let stand for 10 minutes.
Grate diakon (Japanese radish) using a microplane or similar grater.Traditionally soba is served on a bamboo basket tray, but if you don’t have these, you can simply serve them on a plate or in a bowl. Divide up the noodles, laying them on your serving dishes. Sprinkle each with 1/4 of the nori. In small side bowl or cup, place 1/2 cup of dipping sauce into each. In separate small side dishes, serve each person a small amount of wasabi, grated daikon, and green onions.
The noodles are eaten by sprinkling the desired garnishes into the dipping sauce and eating the noodles by first dipping them into the sauce.
Share this:
Put the chicken in a bowl with the cucumber, shallots, herbs and chilli. Mix the lime, fish sauce and sugar together until the sugar dissolves, then pour over.
Gently mix together and serve with the peanuts sprinkled over the top.
Share this:
Heat oil in a large nonstick skillet over medium heat.
Add couscous, bell pepper, pistachios, shallot and 1/4 teaspoon salt.
Cook, stirring frequently, until the couscous is lightly toasted, about 5 minutes.
Stir in water. Cover and cook, stirring occasionally, for 5 minutes.
Stir in 1 tablespoon each parsley and oregano.
Sprinkle salmon with pepper and the remaining 1/4 teaspoon salt.
Place the salmon on top of the couscous, reduce the heat to medium-low, cover and cook until the salmon is cooked through and the water is absorbed, 5 to 7 minutes.
Serve garnished with herbs, if desired, and lemon wedges.
Share this:
Cut 4 oz. slab bacon into 1″-thick pieces and cook in a medium skillet over medium-low heat, stirring often, until crisp, 5–7 minutes; transfer to a paper towel–lined plate.
Whisk 1/2 finely chopped small shallot, 3/4 cup sour cream, 1/2 cup buttermilk, 1 Tbsp. chopped fresh chives, and 1 Tbsp. white wine vinegar in a small bowl; fold in 1/2 cup crumbled mild blue cheese.
Adjust consistency with sour cream or buttermilk, if needed.
Season dressing generously with kosher salt, freshly ground black pepper, and more vinegar, if needed. Cut 1 small head of iceberg lettuce into 4 wedges; place on plates and spoon dressing over.
Top with bacon, 1/4 thinly sliced small red onion, and more crumbled blue cheese and chopped chives.
Share this:
In the bowl of a stand mixer fitted with the dough hook, mix the flour and sugar on low speed. Add the eggs and beat well. Add the yeast, mixing for about 1 minute, until the ingredients are evenly combined. Gradually add the butter a few cubes at a time, and then add the salt. Increase the mixer speed to medium and continue to mix until the butter is completely incorporated and the dough has pulled away from the sides of the bowl, about 10 minutes. The dough will typically make a slapping sound when it’s ready to come out, and it should be glossy and smooth.
Transfer the dough to a medium metal bowl and cover it tightly with plastic wrap. Let it sit in a draft-free environment until it has doubled in size, 1 hour 30 minutes to 2 hours.
Put the proofed dough in the refrigerator until it’s cool and firm.
Take the chilled dough out of the refrigerator and turn it out onto a sheet of parchment paper. Put a second sheet of parchment paper on top of the dough and roll it out until it is 1/2 inch thick. Put the dough back in the refrigerator and chill it for about 20 minutes more. (At this stage, the dough may be chilled for up to 24 hours before continuing.)
Prepare two baking sheets: one lined with paper towels, and the other with greased parchment paper.
Peel off the top sheet of parchment paper and flip the dough onto a floured surface. Remove the second sheet of parchment paper and dust the dough with flour. Using a floured biscuit or doughnut cutter about the size of a half dollar, cut the dough into rounds and put them on the greased baking sheet.
Cover with plastic wrap and let the doughnut holes proof at room temperature until they double in size, 30 minutes to 1 hour.
Refrigerate them once more until chilled, about 20 minutes. Meanwhile, heat at least 2 inches of oil in a heavy-bottomed pot fitted with a deep-fry thermometer until the oil reaches 350°F.
Fry the doughnut holes in batches, taking care not to crowd the pot, until golden brown all over, 3 to 4 minutes per side. Drain on the paper towel-lined baking sheet. Toss the doughnut holes in the cardamom sugar (simply combine the sugar, salt, and cardamom in a bowl) and serve them immediately.
Share this:
- Adjust oven rack to middle position. Preheat oven to 350°F. Lightly spray two 9-inch pie plates with non-stick cooking spray.
- Combine butter and dark brown sugar in bowl of stand mixer fitted with paddle attachment. Mix on medium speed until a thick paste forms, about two minutes. Add eggs, one at a time, and mix until combined. Stop mixer. Add whisked dry ingredients. Turn mixer on to low speed. Mix until a thick dough forms. Stop mixer. Add chocolate chips. Turn mixer on to low and blend until chocolate chips are incorporated.
- Remove a generous half cup of cookie dough. Set aside. Divide remaining dough between two prepared pie plates. Press dough down into bottom of pan and halfway up sides of the pan. (If dough is warm and sticks to your hands, rice flour your hands or chill dough for five minutes.) Divide jam between the two pies. Spread evenly over crust. If adding chopped nuts or other ingredients, sprinkle over jam. Pinch remaining cookie dough into tablespoon-size balls. Divide evenly between the two pies.
- Chill pies for ten minutes. Bake until crust is golden brown, about 25 minutes.
- Cool pies on wire rack. Wait at least 15 minutes before eating as jam is very hot and can burn your mouth if eaten right out of the oven. Store leftover pie in the refrigerator for up to three days.
Share this:
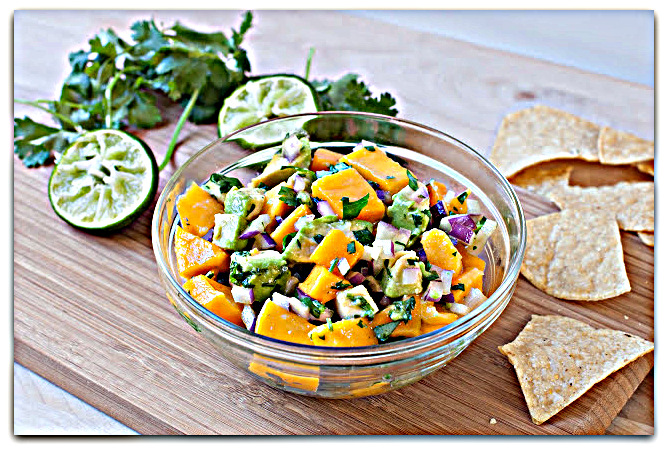
Chop up your cilantro, zest and juice up your limes, mince your garlic and chop your red onion into small chunks.
You can either mince your red onion by throwing it into a food processor or mince it by hand. I find it easier to just throw it in the processor, and let it do the workIn a medium bowl, mix together the lime zest and juice, olive oil, minced garlic, cumin, minced red onion, red pepper flakes, chopped cilantro and a pinch of salt and pepper.Put the chicken breasts into a ziploc bag and pour in the mixture. Zip up the bag, and give it a couple of shakes to make sure that all of the chicken breasts are evenly coated.
Put the bagged chicken in the refrigerator and let it marinate for 2-4 hours or up to 6 hours.
Note: I wouldn’t recommend marinating the chicken breasts for more than 6 hours, as they will get a bit rubbery. If you want to make this a true make ahead meal and marinate it for more than 6 hours, then you can pick up some boneless chicken thighs. They will take in the marinade beautifully and can handle marinating overnight or for more than 6 hours.
Once the chicken has marinated, call upon your grill master (that would be my husband) to get the grill nice and hot. Grill the chicken breasts about 7 minutes per side or until thoroughly cooked (when they reach an internal temp of 165 degrees). Chicken breasts vary is size so it usually takes longer than 7 minutes per side, that is why I always test my chicken with a meat thermometer.
Let the meat rest for at least 5 minutes, and then slice the chicken breasts into thin slices.
While the chicken is resting, throw the tortillas on the grill, and grill them until slightly charred and pliable, about 20 seconds per side.These tacos are not complete without the mango avocado salsa, seriously, it adds so much flavor.
Top each tortilla with the sliced chicken, mango avocado salsa, cotija cheese or queso fresco and some fresh cilantro.
Share this:
Just Added
Connect with us
Free Weekly Newsletter:
Get the latest recipes and tips delivered right to your inbox.
Subscribe to email
Your e-mail is safe. Privacy Policy
Latest Blogs

My Home, the cultural melting pot.
Read More >

Buying wine here,trick or treat?
Read More >


Recipesupermart.COM
Support
tips and tricks
RECIPE OF THE WEEK/OCCASION
-
Indian remedies for a better skin tone,make them at home.
Read more -

Reasons to Eat Organic Food
Read more -

These foods are bad for your skin
Read more -

How to open a bottle of champagne,without hurting someone.
Read more
-
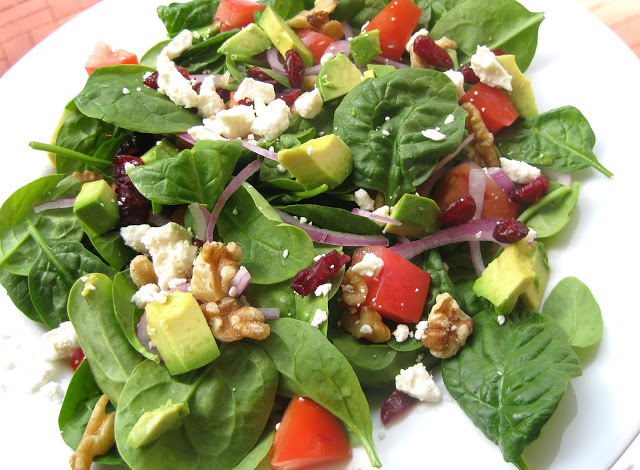
Harvest Salad
Read more -
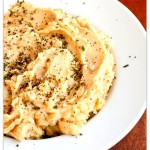
Brown Butter Mashed Potatoes
Read more -
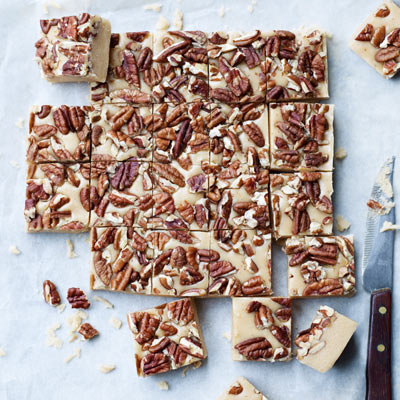
Maple pecan fudge
Read more -
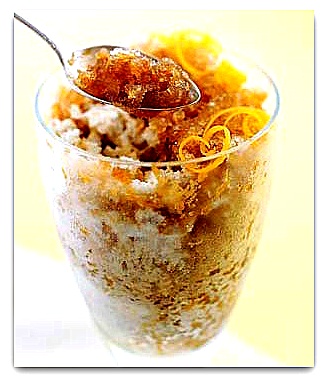
Espresso Slushy
Read more -
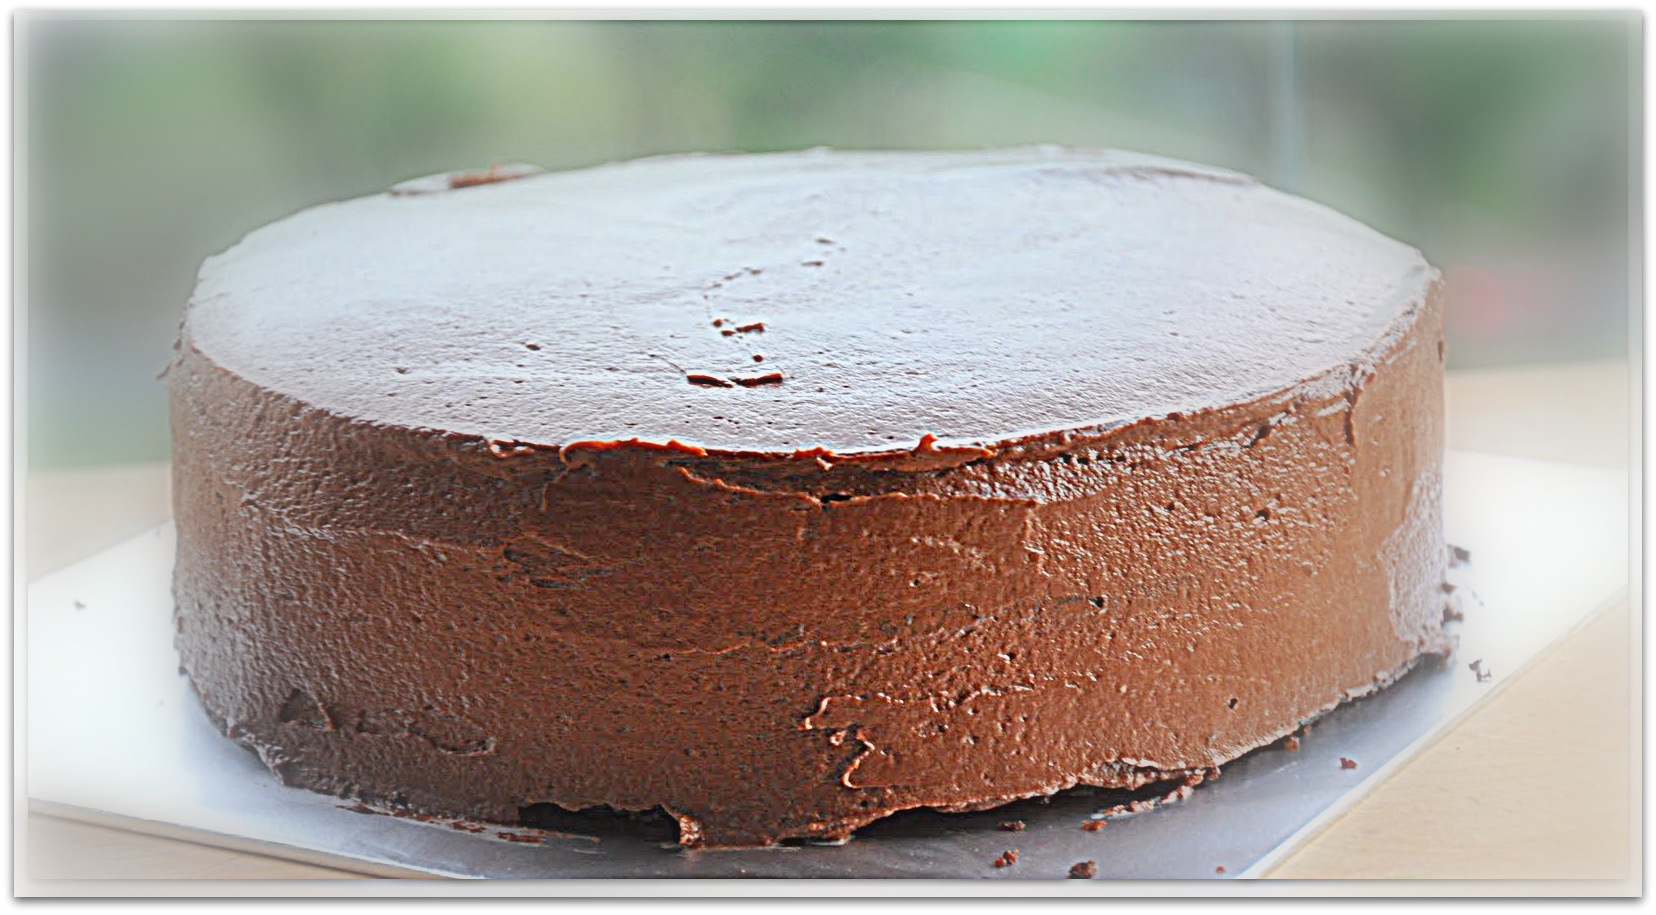
Eggless Chocolate Cake
Read more -
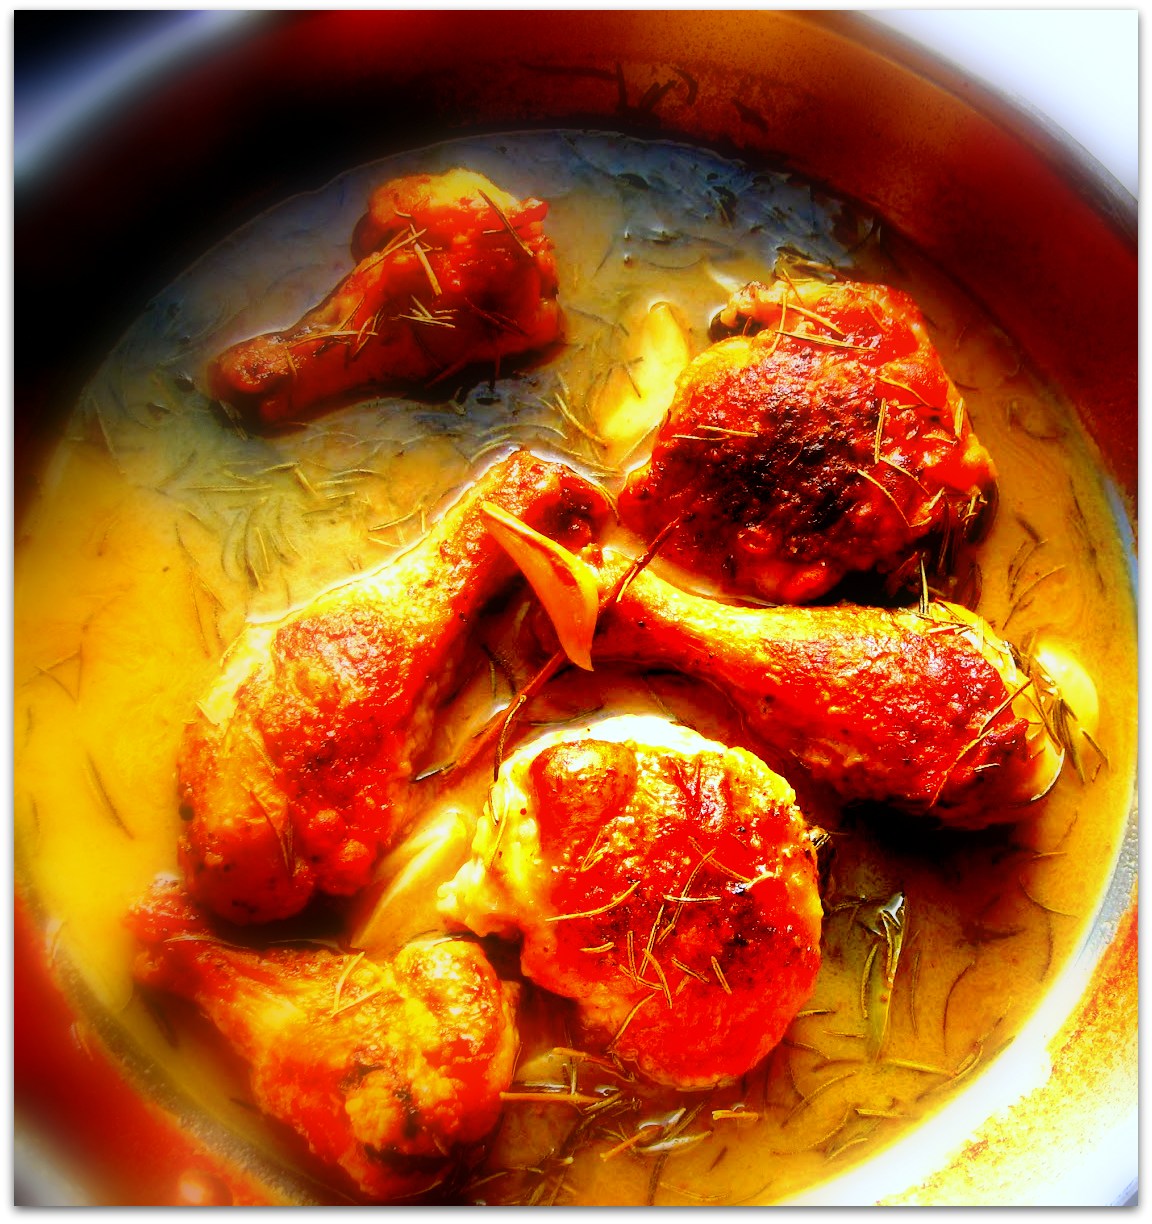
Braised Chicken in Wine and Rosemary
Read more -

Zaru Soba (Cold Soba Noodles)
Read more -
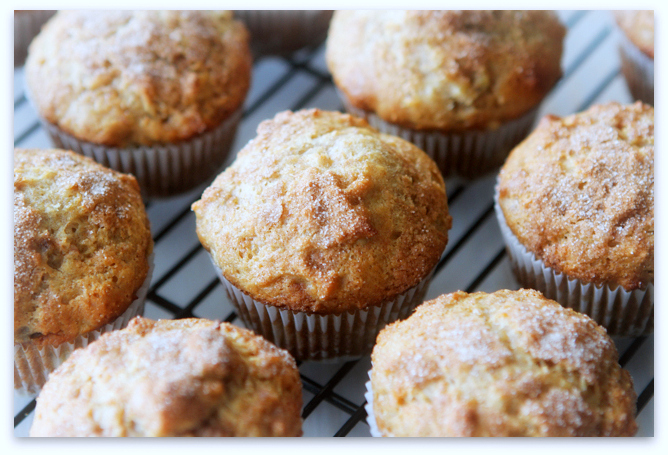
Breakfast Muffins
Read more -
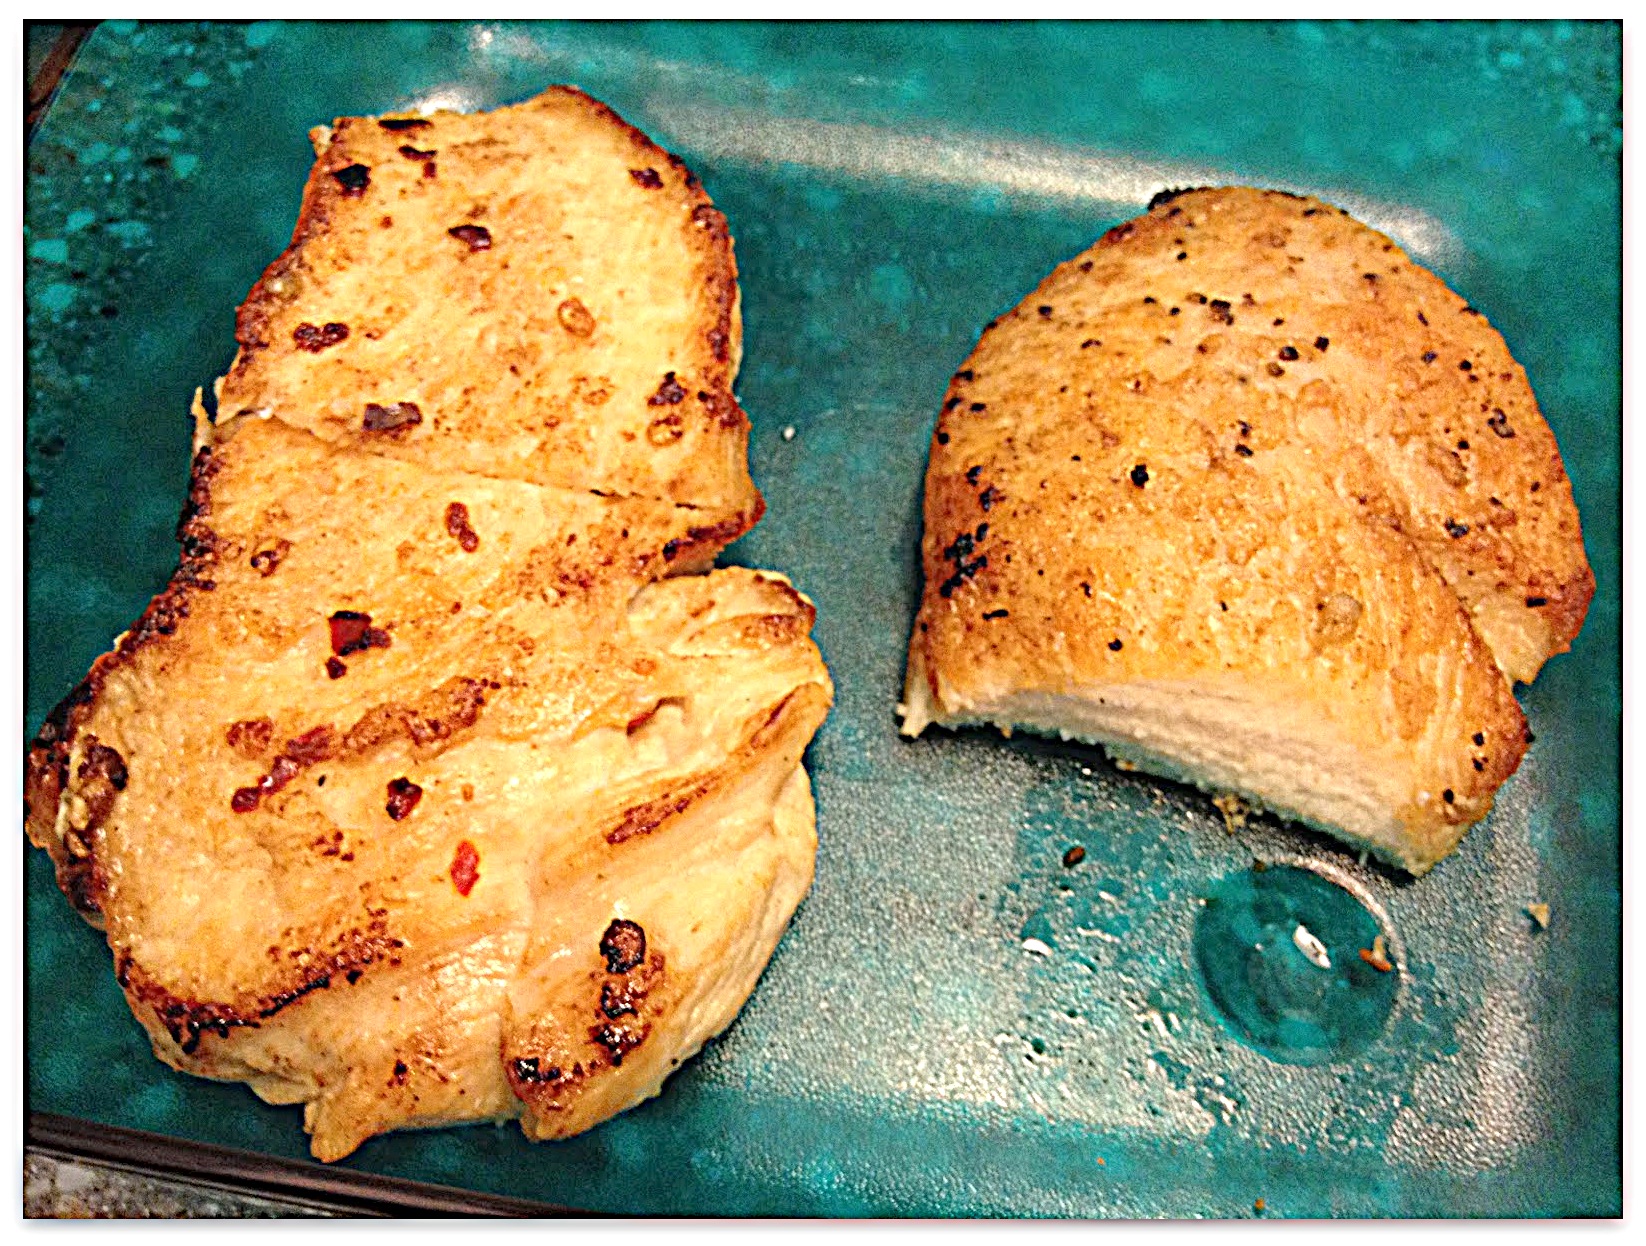
Pan fried Chicken Breasts
Read more -
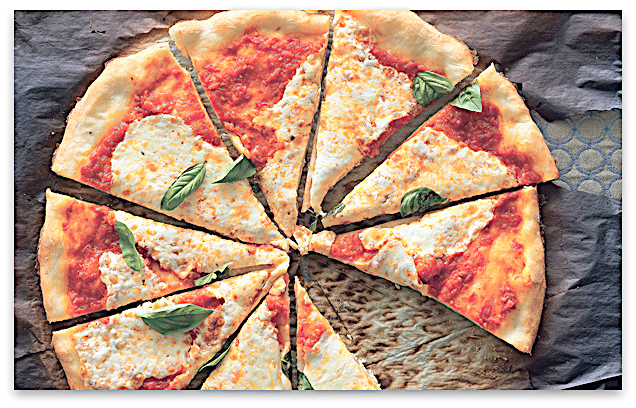
Four Cheese Margherita Pizza
Read more -
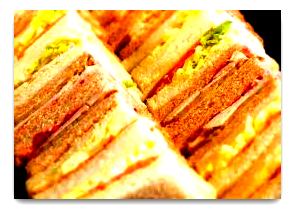
SESAME-CRUSTED CHICKEN SALAD TEA – SANDWICH
Read more -
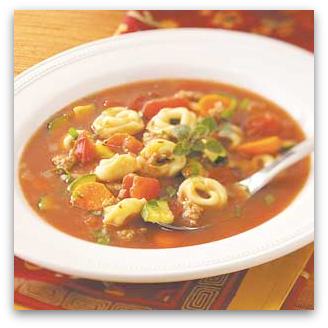
Italian Tortellini Soup
Read more -
Mango avocado salsa
Read more -
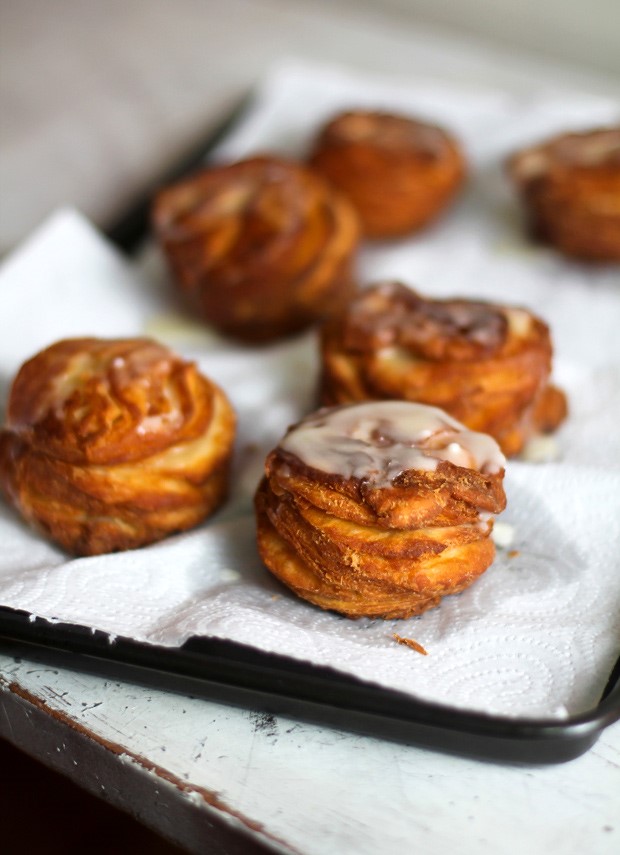
Cro-Nots! with Calamansi Glaze
Read more
Copyright© Recipesupermart.com. All Rights Reserved Recipesupermart.com